


 5:24 AM
 Twitter Tools
Windows 7 offers a very user friendly interface to connect computers to the network. If you’ve previously set up a home network using computers running Windows XP or Windows Vista, you’ll find that setting up a network with a mix of computers running Windows XP, Windows Vista, and Windows 7 is similar.

By far, the easiest way to set up file and printer sharing on a home network is to create a homegroup. A homegroup links computers on your network so that you can share pictures, music, videos, documents, and printers. You can help protect a homegroup with a password, and you’ll always be able to choose what you share with the group. If all of the computers that you want to network are running Windows 7, creating a homegroup is the recommended method.
HomeGroup is available in all editions of Windows 7. In Windows 7 Starter and Windows 7 Home Basic, you can join a homegroup, but you can’t create one.
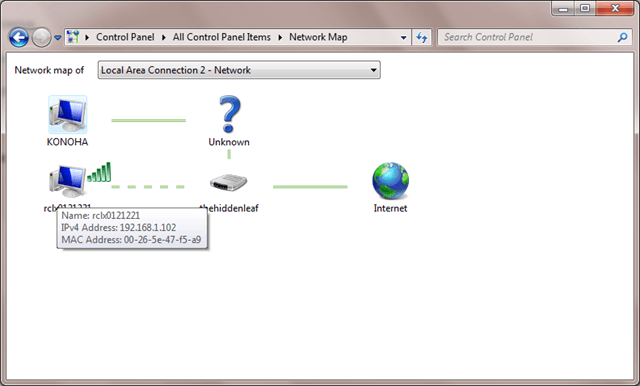
Sometimes you would want to see who is currently connected to your network. To do that, open the Network Map under Control Panel and you will see all the computers connected to your network. In the example below there are 2 computers connected to my router, which connects to the Internet.

 Posted in
No Response to "The Network and Sharing Center in Windows 7"
Post a Comment