


 5:31 AM
 Twitter Tools
We have previously shown you how to create system restore points in Windows 7 and now we will show you a way to recover from a more serious error – like when you can’t even access the System Restore screen.
System recovery options can help you repair Windows if a serious error occurs, such as corruption of the OS. To use system recovery options, you’ll need a Windows installation disc or access to the recovery options provided by your computer manufacturer. If you don’t have either of those choices, you can create a system repair disc to access system recovery options.
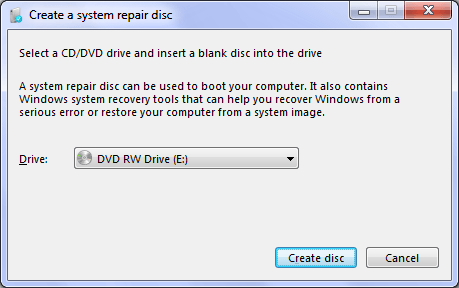
To start making system repair discs, go to the Control Panel then click the Backup and Restore icon. In the Backup and Restore window, click the Create a system repair disc link at the left side.

It will ask that you put a recordable disc in your disc drive – put a blank CD disc (don’t use a blank DVD or Blu-ray disc since it will only take less than 200MB of space). If you are prompted for an administrator password or confirmation, type the password or provide confirmation. Click the Create disc button to burn the disc.
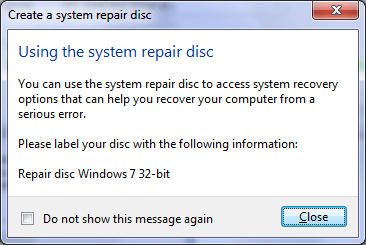
If prompted, press any key to start the computer from the system repair disc. If your computer isn’t configured to start from a CD or DVD, check the information that came with your computer. You might need to change your computer’s BIOS settings. It will boot up the recovery disc then will guide you to the rest of the process.
 Posted in
No Response to "How to Create a System Repair Disc in Windows 7"
Post a Comment