Screen capture programs have been a longstanding software need for Windows users. Anyone who wanted to show a “how to” instruction set, compare Desktop screens, or various other reasons, found themselves in the market for the ability to take screen shots. With Windows, one can use the Print Screen function, paste the image into Paint, and then edits the screen image. However, doing this in repetition proves cumbersome and time consuming.
Between free and paid solutions, there is a vast selection of screen capture tools available on the Internet. The average person is bound to try at least more than one before settling on a package that fits their needs. Microsoft took note of this and added a function to Windows 7 to cover the basic needs of quick screen capture.
Located in the default Start menu, the Snipping Tool encompasses some basic functionality of what a screen capture tool should have. It can capture a rectangular area, an active window, a full screen, as well as a freehand type capture (non-predefined shape). With its companion editor function, you do not have to open up an external program like Paint to edit your screen shots.
To illustrate the use of the Snipping Tool, we will run through a capture from start to finish. To begin this process, open up the Snipping Tool from the Start menu. You will now see a small graphical menu pop up on your screen.
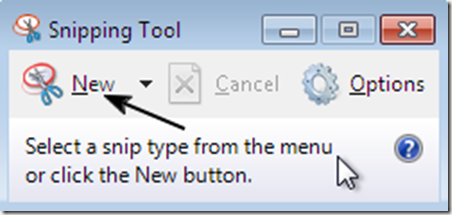
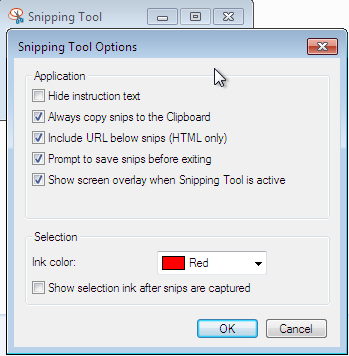
In this small menu selection, you will see New, for a new screen capture, and Options, for choosing certain attributes about how the Snipping Tool will act. Before we take a new “snip”, let’s look at the Options briefly. Here we can control items like ink color (if using the Free-form or Rectangular Snips), prompt for saving Snips, and copying Snips to the Windows Clipboard.
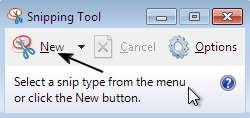
Since we want to take a screen capture, we will click just to the right of New to pick what type of Snip we want. For the example, we will choose Window Snip. After the selection is made, click on New. Having clicked on New, a small hand will appear (similar to the ones you see with Internet Hyperlinks). Use the hand to click on a window.
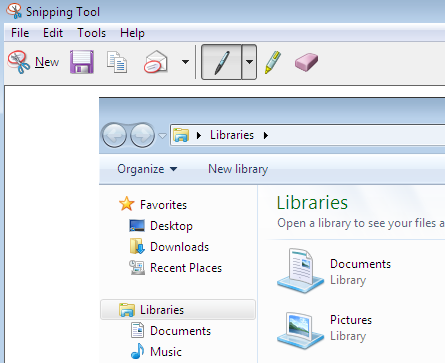
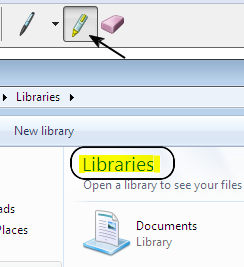
One you have clicked on your target window, the Snipping Tool editor will be launched. The captured image will be displayed offset so as not to confuse the image with the editor tool set. The first time you have the editor open, the Pen tool is selected by default. With the Pen, you may draw free form lines, or other objects.
To the right of the Pen tool is the Highlighter. With this tool, you can highlight anything on the image, just as you would with a marker on a piece of paper. This tools is only designed to draw broad yellow lines, and nothing else.
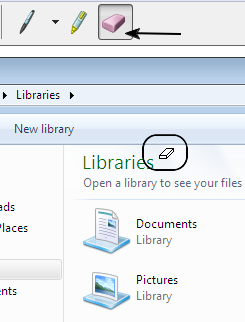
Moving further right on the tool bar, we have the Eraser. After you click on the eraser button, a small hovering icon appears in place of the mouse pointer. Now this tool is different than in other screen capture utilities. With the Snipping Tool editor’s Eraser, it only removes things added by the editor. It does not erase anything from the actual captured image. This could be a mixed blessing depending on the needs of the user.
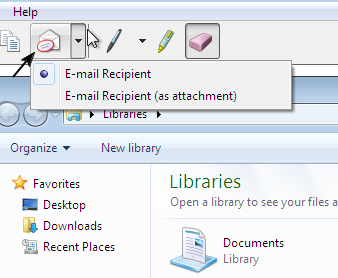
One of the nice options within the Snipping Tool editor, is the ability to directly email the captured image. While this action is not unique to the Snipping Tool, the time required to perform the move is very miniscule. Simply click on the email button to open up your default email program for sending the image. Optionally, you can click on the drop down arrow, and choose to have the image within the email message, or added as a file attachment.
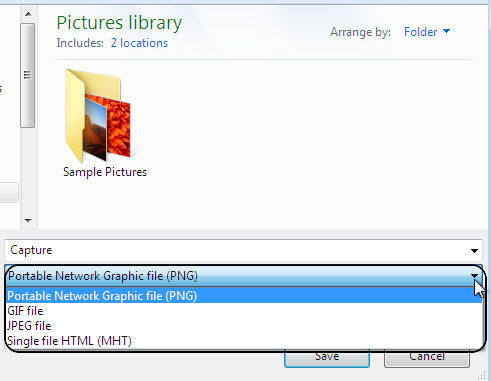
Of course what screen capture utility would be useful without the ability to save the image as a file. Clicking on File, then Save As, will allow the user to keep the image as a picture file. From the Save As menu, one has the option of .PNG, .GIF, .JPEG, or .MHT (HTML web page type file) selectable formats.
This should help get someone started with the Windows 7 Snipping Tool. Realistically, there is nothing too complicated about the utility due to it being straight and to the point. It can also be a good choice for screen capture while other software makers catch up with the Windows 7 operating system.


 5:18 AM
 Twitter Tools

 Posted in
No Response to "How to use the Windows 7 Snipping Tool"
Post a Comment